
Building an end-to-end encrypted file sharing application with Seald
If you want to play with the final project, you can find it on our Github repository seald/sdk-upload-example, with instructions to run it on Docker. Be careful, this is a demonstration project, which comes with no guarantee and needs some improvements to be used in production.
An end-to-end encrypted file sharing application
There are many file sharing applications (WeTransfer, OneDrive, Dropbox, ...). However, how do these platforms ensure the confidentiality of the data that goes through them?
Naively, the files are directly copied to the servers. Usually, the security measures put in place are mainly on the transfer (using SSL/TLS for HTTPS). Nevertheless, the file, once sent to the server, is often stored "in clear". Thus, a developer or system administrator could read them. Which means that a malicious person (a hacker, for example) who had compromised the security of the application (this echoes the recent vulnerability found in Log4j) would be able to read them as well.
There is a technology that can to answer this problem: end-to-end encryption. It allows to cryptographically secure a file, so that only authorized people can read the file. This requires the generation of encryption/decryption key pairs on the users' devices, which can be very hard for a developer, both in terms of difficulty and security risk. Seald SDK (certified by the ANSSI) enables developers to ignore this complexity altogether by using a cryptographic library that takes care of this.
In this article, we will see how to implement end-to-end encryption in a file transfer application.
Our technology choices are as follows:
- On the backend side, we will use Django and django-rest-framework;
- On the frontend, we will use JavaScript with React.
This guide is "high level", the whole code is easy to transpose in other languages, as long as the client part (frontend here) can execute JavaScript.
Application specifications
The example application chosen for this guide will be a file sending/receiving page.
The workflow of the application is as follows:
- A person can register on the application;
- Another person (not necessarily registered) can send a file to a registered recipient;
- An authenticated user can list the files he has received and download them.
The development of such an application is not the subject of this guide. We will only focus on the specifics of end-to-end encryption of files as they are sent and downloaded.
So at the end of this guide :
- A user's cryptographic identity will be created at registration;
- The files transmitted to the server will be encrypted only for the user receiving the file;
- The receiving user will be able to decrypt and download his files.
All this, in a completely transparent way at each level of the initial workflow.
Creating a project on Seald
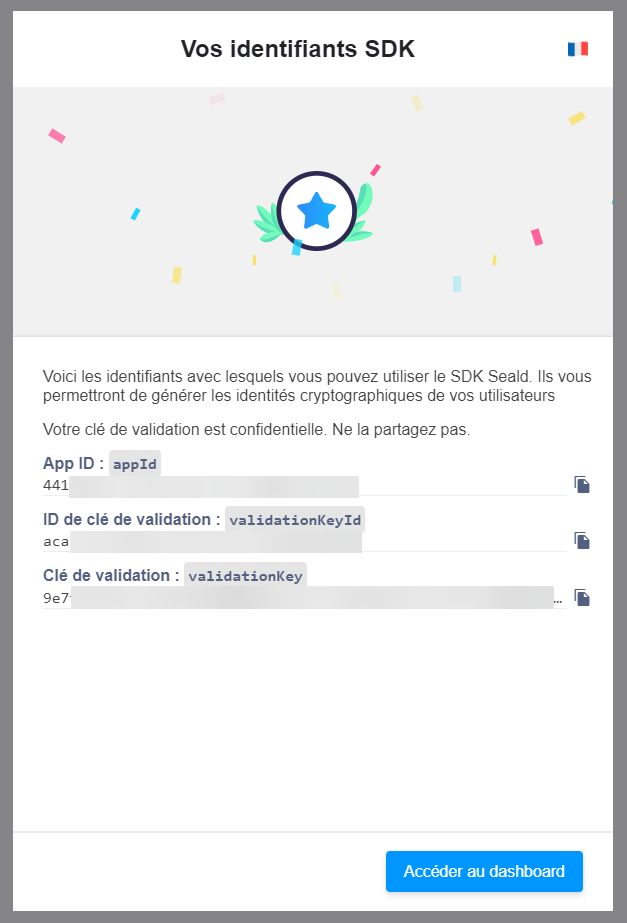
To use Seald SDK, you must first create an account to generate API keys. To do so, you just have to register on the account creation page, and different API keys will be generated upon registration (we will call them SEALD_APP_ID, SEALD_VALIDATION_KEY_ID and SEALD_VALIDATION_KEY).
Once these API keys are generated, it is also recommended to generate a personal access token, allowing to manipulate the dashboard via the API. To generate one, go to the dashboard settings, in the "Personal Access Tokens" tab, and create one.

This token will allow to create a shared secret between the backend of our application and Seald, in order to generate licenses for users.
To generate a shared secret, we need to use the command provided in the documentation:
curl -X POST https://dashboard.seald.io/dashboardapi/v2/jwtsharedsecret/ \
  -H 'X-DASHBOARD-API-KEY: VOTRE_JETON_D_ACCES' \
  -H 'Content-Type: application/json' \
  --data-raw '{"permissions": [-1]}'
At the end of this command, we can retrieve id and shared_secret (which we will call
SEALD_JWT_SHARED_SECRET_ID and SEALD_JWT_SHARED_SECRET).
So we have the following API keys and tokens:
SEALD_APP_IDSEALD_VALIDATION_KEY_IDSEALD_VALIDATION_KEYSEALD_JWT_SHARED_SECRET_IDSEALD_JWT_SHARED_SECRET
They will be needed in the rest of this guide.
Generating a cryptographic identity at registration
When you want to integrate end-to-end encryption into an application, the first thing to do in the entire workflow is to generate cryptographic keys for the user at registration.
These keys are used:
- when we want to send a document to a user, to use the "public" part of these keys to secure the document;
- when the user wishes to decrypt a document, to use the "private" part of the key.
The difficulty, when one implements these features themself, is to integrate:
- the storage of private keys outside the scope of the application, so that the user can retrieve it at a later time on another device;
- the renewal of the keys.
The advantage of using Seald is that all these security mechanisms are installed in the library without having to worry about their implementation!
The set of these keys is called a cryptographic identity.
To generate the cryptographic identity, several exchanges between the backend and the frontend must be integrated. This generation is roughly articulated as follows:
- The backend generates a Seald SDK license token and sends it to the frontend;
- The frontend generates the cryptographic identity;
- The frontend sends the Seald ID to the backend.
Generation of the Seald SDK license token
On the backend, to generate a license token, we need SEALD_APP_ID, SEALD_VALIDATION_KEY and SEALD_VALIDATION_KEY_ID.
From these elements, a scrypt is used to generate a license token.
Here, we generate the user's license token from the user's id (self.id) in python.
def get_user_license_token(self):
    seald_app_id = os.environ.get("SEALD_APP_ID")
    seald_validation_key = os.environ.get("SEALD_VALIDATION_KEY")
    seald_validation_key_id = os.environ.get("SEALD_VALIDATION_KEY_ID")
    nonce = secrets.token_bytes(32).hex()
    token = hashlib.scrypt(
        f"{self.id}@{seald_app_id}-{seald_validation_key}".encode(),
        salt=nonce.encode(),
        n=16384,
        r=8,
        p=1,
    ).hex()
    return f"{seald_validation_key_id}:{nonce}:{token}"
So all you have to do is send this information upon the user's registration.
Generation of the cryptographic identity
From the previously generated user_license_token, we can generate the user's cryptographic identity on the frontend with the following JavaScript code:
import SealdSDK from '@seald-io/sdk-web
import SealdSDKPluginSSKSPassword from '@seald-io/sdk-plugin-ssks-password

const appId = '{SEALD_APP_ID}'

const seald = SealdSDK({ appId, plugins: [SealdSDKPluginSSKSPassword()] })

const sealdInitiateIdentity = async (userId, userLicenseToken, password) => {
  await seald.initialize()
  await seald.initiateIdentity({ userId, userLicenseToken })
  await seald.ssksPassword.saveIdentity({ userId, password })
  return (await seald.getCurrentAccountInfo()).sealdId
}
Note that password is used here as a secret to secure the user's private keys. By directly using the user's password (normally known by the frontend at registration or login), the backend and the Seald identity are protected by the same secret.
To prevent a malicious backend from being able to use a Seald identity, the authentication method to the backend should be changed so that only a derivation of the password is sent to the backend, and no longer the password itself. This is not done in this initiation project. Information about this can be found in the Seald documentation.
Save the Seald ID
The backend will then need the user's Seald ID, in order to allow other users to retrieve public cryptographic identities.
For this, two solutions exist: either the backend finds the identifier from the identity given in the license token, or the user sends it to the backend once the identity has been created. This is what we have chosen for this guide.
The previous function (sealdInitiateIdentity) returns the sealdId, so you just have to send it to the backend:
const userUpdateSealdId = async (sealdId) => {
  return fetch(
    /api/users/update_seald_id/',
    method='POST',
    body=JSON.stringify({seald_id: sealdId}))
}
And retrieve it from the backend:
class User(models.Model):
    [...]
    def update_seald_id(self, seald_id):
        self.seald_id = seald_id
        self.save()

class UserView(viewsets.ViewSet):
    [...]
    @action(methods=["POST"], detail=False)
    def update_seald_id(self, request):
        [...]
        user = get_object_or_404(User, django_user=request.user)
        user.update_seald_id(serializer.validated_data["seald_id"])
        return Response([...])
Recovering the cryptographic identity at the connection
The previous chapter allows to initialize the seald variable with a cryptographic identity creation at registration. Nevertheless, when the user connects, it is also necessary to be able to initialize the seald variable, not by creating an identity, but by recovering the one created at registration.
To do this, it is sufficient to add on the frontend, during a successful authentication, the loading of the cryptographic identity :
const sealdRetrieveIdentity = async (userId, password) => {
  await seald.initialize()
  await seald.ssksPassword.retrieveIdentity({ userId, password })
}
Same remark as before about password, it is used as a secret to secure the user's private keys. Although it is possible to use the user's password directly (normally known by the frontend at login), it is recommended to use a derivation (for example with PBKDF2).
Be careful though. There are many cases where the password may not be available when the frontend loads:
- User already authenticated, who has a session on the backend;
- Application that is not a SPA;
- Remote authentication (ex: OAuth).
In this case, a solution can be to use a persistent local database or what we call 2-man rule (which is not technically end-2-end encryption, but as close as it gets to it if you want to "allow" your users to forget their password).
Encrypting a file when sending to the server
Once a user's cryptographic identity has been created, it will be possible to retrieve it to allow another user to use it to encrypt documents.
Let's go back to our upload application. In our case, we want anyone (even a non-authenticated user) to be able to send a file to someone who is registered. We will therefore use Anonymous Encryption.
To use it, just send the .stream() (or .blob()) of the file to the server, encrypted with the AnonymousSDK.encrypt() function.
In order to encrypt a message anonymously, the user needs:
- The Seald identity of the person to whom the file should be sent;
- An
encryptionTokenthat can be generated by the server.
Thus, on the backend:
seald_app_id = os.environ.get("SEALD_JWT_SHARED_SECRET_ID")
seald_validation_key = os.environ.get("SEALD_JWT_SHARED_SECRET")

def generate_encryption_token(user_seald_id):
    jwt_token = jwt.encode(
        {
            "iss": seald_app_id,
            "iat": datetime.now(),
            "scopes": [-1],
            "recipients": [user_seald_id],
            "owner": user_seald_id,
        },
        seald_validation_key,
        algorithm="HS256",
    )
    return jwt_token

class UploadView(viewsets.ViewSet):
    [...]
    def create(self, request):
        [...]
        return Response(
                "encryption_token": generate_encryption_token(user.seald_id),
            }
        )
And on the frontend :
const anonymousSDK = AnonymousSDKBuilder({})
const { encryptionToken } = await fetch(
  '/api/uploads/',
  method='POST',
  body=JSON.stringify({email: userEmail})
)
const { encryptedFile } = await anonymousSDK.encrypt({
  encryptionToken: encryptionToken,
  sealdIds: [sealdId],
  clearFile: f,
  filename: f.name
})
const reader = encryptedFile.stream().getReader()
await upload(reader)
(Note: many details have been simplified for illustration, for full code please refer to the Github repository).
The uploaded file (read by the stream encryptedFile.stream()) will be encrypted. Only the user sealdId will be able to read it via his private cryptographic identity. Neither the server, nor a hacker, nor anyone else will be able to read it.
Decrypting a file on a user's space
Once the file is encrypted and stored on the server, the recipient user now wants to read it.
Once the seald variable is initialized (either via identity creation or authentication), it is possible to use seald.decryptFile().
Thus, to make the user download the file, instead of linking to the url of the file to download, it will be necessary to decrypt it first. To do this, we perform the following operations on the frontend:
const downloadBlob = await fetch(uploadUrl)
const decryptedStream = await sealdDecryptFile(await downloadBlob.blob())
The variable decryptedStream contains the content of the file in clear text! To offer it to the user for download, just create an (invisible) link with the file content in ObjectUrl and simulate a click on it:
const url = window.URL.createObjectURL(decryptedStream)
const a = document.createElement('a')
a.style = 'display: none'
a.href = url
a.download = upload.filename
a.click()
window.URL.revokeObjectURL(url)
(A cleaner method to do this would be to use a dedicated library such as FileSaver.js).
Final project
Source code
The source code can be retrieved from the Github repository seald/sdk-upload-example